

Last Updated on January 29, 2023 by TMB
- Taking a Picture
- 1. Make Sure the Check is Filled Out Correctly
- 2. Sign Into Your Mobile Banking App
- 3. Find and Click the ‘Deposit Checks’ Button
- 4. Sign the Back of the Check
- 5. Take a Picture of the Front of the Check
- 6. Take a Picture of the Back of the Check
- 7. Confirm Your Deposit
- Using a Scanner
- 1. Open the Check Scanning Software
- 2. Verify Your Checks
- 3. Enter the Total Amount of the Deposit
- 4. Scan Your Checks
- 5. Finalize Your Deposit
- Overall Conclusion
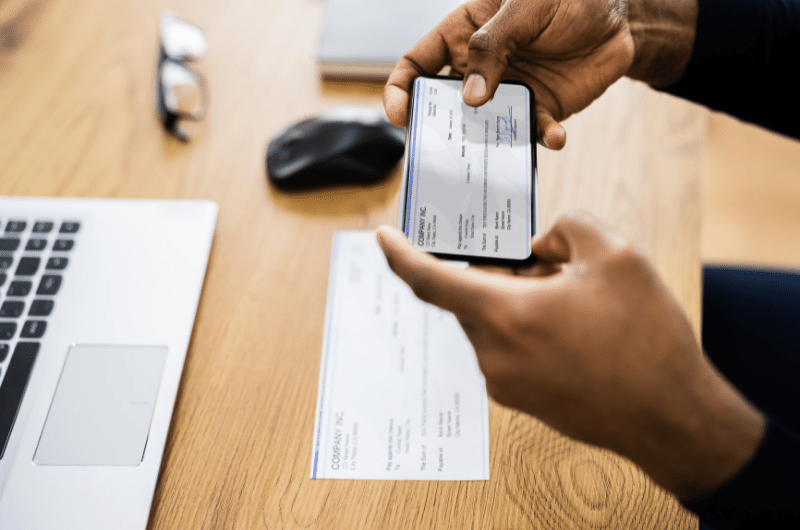
Before the Internet, if you wanted to deposit a check, you would have to head down to your local bank or credit union and hand it to them in person. Maybe they had an ATM and you could use a machine, but you’d have to drive it down there nonetheless.
Now with the popularity of the Internet and its combination with banking, depositing a check is easier than ever — you can even do it from home!
There are two easy ways to deposit your checks from home:
- Take a picture using the mobile app
- Use a scanner
Taking a Picture
Taking a picture of the check you want to deposit is one of the easiest ways to do it. It’s a popular way to deposit your checks as well, as many banks and credit unions have their own names for the useful feature. Chase Bank calls it Quick Deposit and Wells Fargo uses Wells Fargo Mobile Deposit, but the idea is the same.
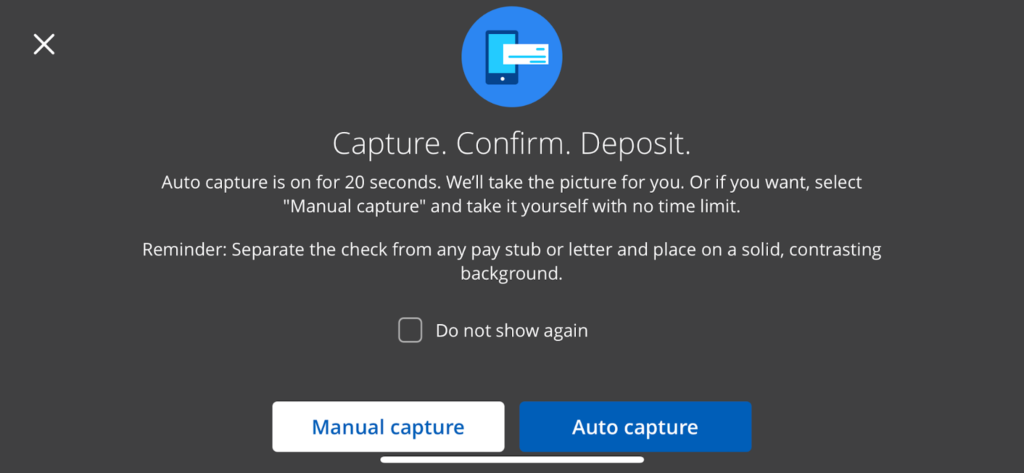
I used Chase’s Quick Deposit for this article, here are some examples of the screens you’ll see when using it as well. Chase’s Quick Deposit gives their users two options: auto and manual capture.
Auto capture will automatically take a picture of a check when it is in the frame, while manual capture will let your press a button when you’re ready to take a picture.
To take a picture of your check and deposit it into a checking or savings account, you have to do a couple of things:
1. Make Sure the Check is Filled Out Correctly
Just because you’re not going into the bank doesn’t mean the bank won’t check the… check. Before even starting the deposit process, make sure the check has your name as it appears on your account, and make sure it’s spelled correctly.
Another common issue is the incorrect date, or no date at all. This issue happens the most in the month of January, as people forget about the new year and write stale-dated checks. By verifying that the check is negotiable, you can make sure you dodge any bank fees associated with them declining a deposit.
Lastly, ensure the dollar amount is the same in writing and in numerals. Even though you don’t have to give the check away, it’s not easy to change the amount of the deposit after it’s done. Catch any writing errors before you send it to the bank.
2. Sign Into Your Mobile Banking App
Use your normal password to sign into your mobile banking app. No matter the bank or credit union you use, you should be able to use the same username and password for everything on the app. That includes checking your balances, transferring money between your own accounts or transferring money to someone else.
3. Find and Click the ‘Deposit Checks’ Button
Again, each bank is a little different. Each will have a unique name for their feature, but the names should all revolve around the word ‘deposit’ or ‘mobile deposit’. Find that button, and click it. It may ask you some onboarding questions, usually asking permission to use certain features on your phone.
The mobile banking app will usually ask for permission to use your mobile device’s camera. The camera is a key part of the deposit process.
After the app asks you to use the camera, it will verify the account you want to deposit into. If you only have one account, your app may skip this step. If you have more than one account, your app will ask before moving forward.
Before taking a picture of the check, the app will ask you to type the dollar amount. The bank can usually read the dollar amount from the picture you’ll take, but they want to make sure it’s correct.
4. Sign the Back of the Check
Once you’re ready to take a picture, flip the check over and sign the back of it. Some banks will also want you to include “online deposit” or “mobile deposit” underneath your signature. It’s always a good idea to check with your bank first and see what they may require.
If the check is written to you and someone else, have the other person sign first. With your signature underneath, you are telling the bank that another person has given the check to you and you are taking responsibility for it.
5. Take a Picture of the Front of the Check
Use the camera on your phone or tablet to take a picture of the front of the check. This is what the bank will use, so make sure the quality is good. You have to include the entire check, as the bank needs the account number and routing number to find the funds.
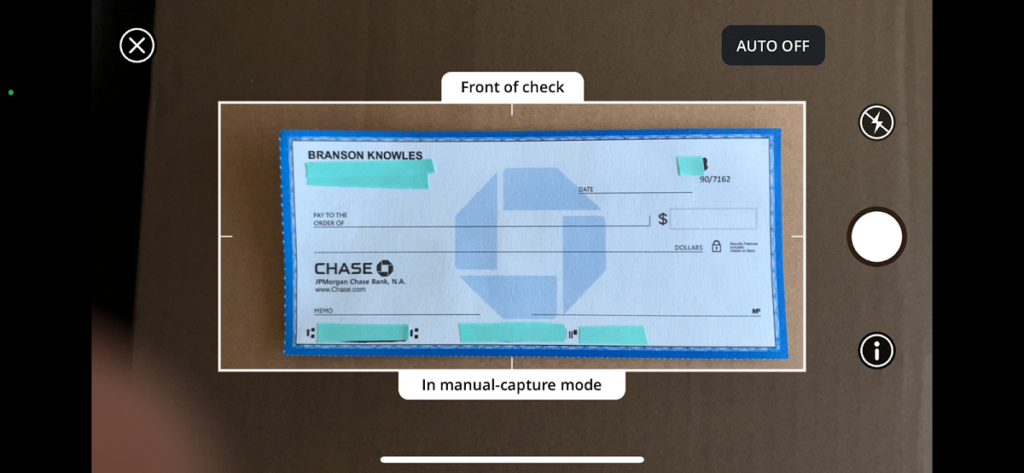
They will also need the dollar amount in letters and in numerals, even though you already typed it.
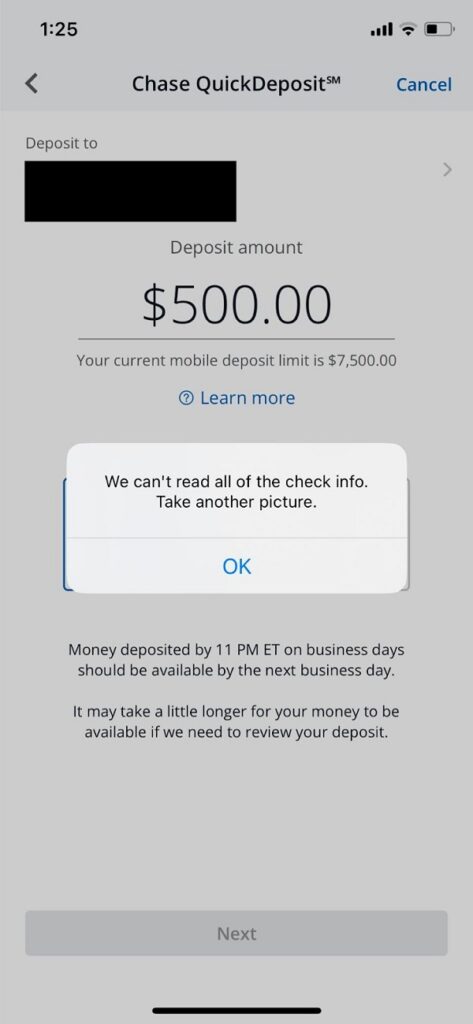
Most banks include a handy frame you can use while trying to take a picture. It comes on screen in the shape of a long rectangle — just like a check. By fitting the check within the frame, you can ensure that the bank gets the best quality picture possible. If you don’t they’ll usually let you know.
If the picture quality isn’t good enough, the bank app will send a notification and won’t allow you to move forward. It’s ok though, just try again with another picture.
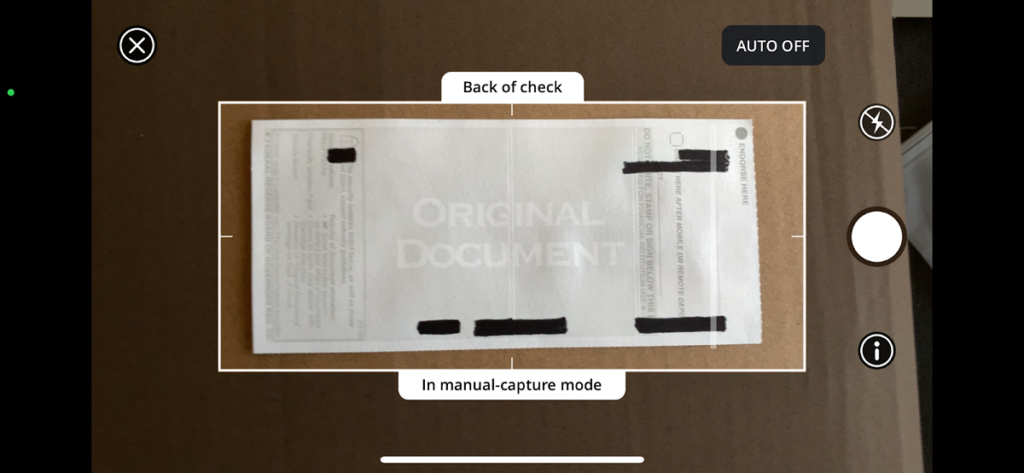
6. Take a Picture of the Back of the Check
The mobile banking app you’re using will let you know if the picture of the front of the check is acceptable. If it is, you can flip the check over onto its back.
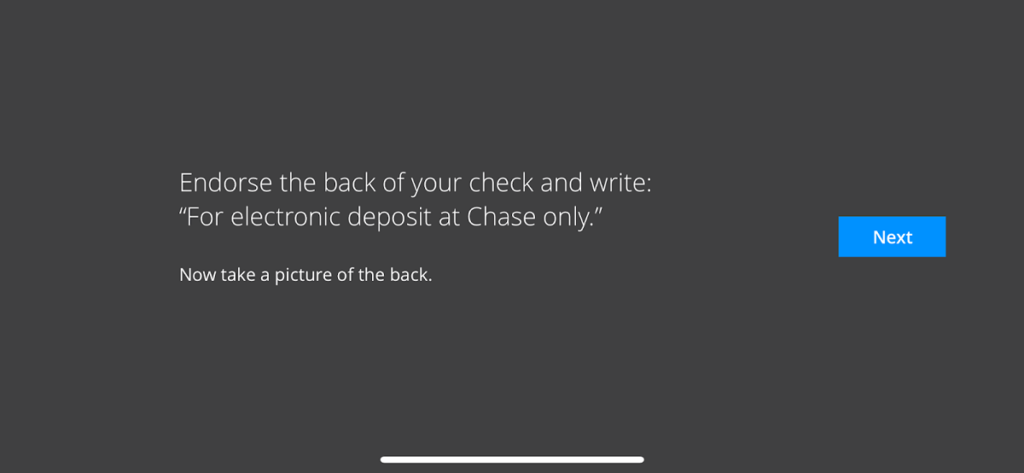
Verifying the back of the check to make sure it’s camera-ready is much easier than the front. You only have two things to look for: your signature and “mobile deposit”.
7. Confirm Your Deposit
After you’ve taken a picture of the front and back, you’re just about finished! Your mobile banking app will probably ask you to confirm a couple of things, like the dollar amount or the account it’s going into.
Once you’ve confirmed those questions, you should see a button that says “deposit”. Click that button and the check should be on its way to your account!
While mobile banking apps are a great way to deposit your checks without heading down to your bank, not all phones can support this. Check with your bank and the app on your app store to make sure your technology is up to the task.
Using a Scanner
Scanners are less common than mobile banking apps. It’s no surprise, just about everyone already has a mobile phone for the app but not everyone wants to get a scanner.
Most banks also only offer this feature for their business customers. If you are a business customer though, this may be a great option for you.
Just like depositing your check by taking a picture, every bank has a different version of this process. No matter the bank however, the process is usually similar:
1. Open the Check Scanning Software
Each check scanner will have its own software, or button, you can click on. For Chase Bank, the way to scan checks starts the same as taking a picture of them. Simply click the ‘deposit checks’ button.
If you have a business account, the app should then ask how you’d like to make your deposit. Answer “scan” and your scanner should turn on.
2. Verify Your Checks
Just like taking a picture, it’s important to make sure each of your checks is valid and negotiable. Your bank will charge returned item fees if they see any mistakes, so don’t let them.
3. Enter the Total Amount of the Deposit
Your mobile banking app will automatically assume you have multiple checks if you’re using a scanner. That’s because scanners are usually used by business customers.
Whether you have one check or nine, calculate the total amount of your deposit and enter it into the screen.
4. Scan Your Checks
Place your checks into the scanner. The machine should let you know which way the checks are facing. Make sure they’re all facing the same way or some of the checks won’t be read.
5. Finalize Your Deposit
Once the checks have been scanned, the app will ask if the dollar amount it read matches. Confirm that, hit deposit, and the money should be on the way to your account.
Overall Conclusion
There are two easy ways to deposit checks without going to the bank: Using the mobile app to take a picture or scanning your checks and depositing them online.
Either way is reliable and a great way of saving a trip.